
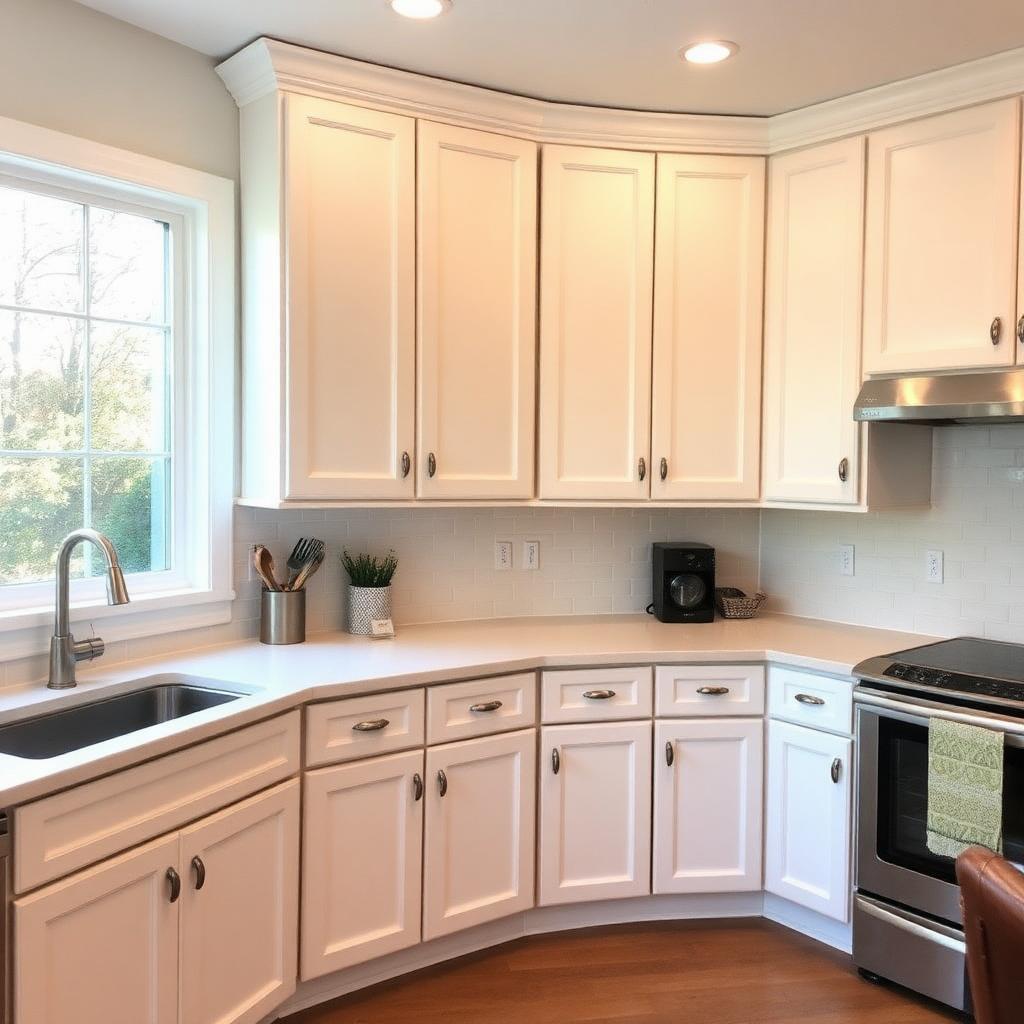
Painting kitchen cabinets is the single highest-return update you can make to a St. Louis home. A tired oak or honey-maple kitchen can look brand new for a fraction of the cost of new cabinetry — if the prep is done right. St. Louis humidity is not kind to shortcuts. Skip a step and you'll see peeling around the sink and chipping on the drawer edges within a year.
This guide walks through the exact process our crews use on cabinet refinishing jobs in Kirkwood, Webster Groves, Ballwin, Florissant, and across the STL metro — plus an honest breakdown of DIY vs. professional cost so you can decide which route makes sense for your kitchen.
Why St. Louis Kitchens Need Better Prep Than the YouTube Tutorials Show
Most cabinet-painting tutorials online are filmed in dry-climate garages. In Missouri, we deal with 70%+ summer humidity and swings from 15°F to 95°F within six months. Paint film that cures too fast on top and too slow underneath is the #1 cause of cabinet failure here. Grease from years of cooking, combined with moisture around the sink and dishwasher, means adhesion is everything.
The two most common failure modes we're called to fix on other painters' work: (1) latex paint sprayed straight over glossy factory finish with no bonding primer, and (2) doors reinstalled before the enamel had a chance to cure, leaving imprints from bumpers and hinges.
The 7-Step Professional Kitchen Cabinet Painting Process
Step 1 — Remove and Label Everything
Take off every door, drawer front, and piece of hardware. Number each door with painter's tape on the hinge side (so the number gets covered when reinstalled) and put screws in labeled zip-top bags. Cabinets that get sprayed on the wall never look as good as cabinets sprayed flat on sawhorses.
Step 2 — Degrease with TSP
Mix trisodium phosphate (TSP) or a heavy-duty degreaser like Krud Kutter and wash every surface — inside face frames included. Rinse with clean water and let dry overnight. This step alone takes most DIYers by surprise; the water in the bucket will be brown.
Step 3 — Fill, Sand, and Vacuum
Fill any dings, screw holes, or grain (if you're going for a smooth painted look) with a two-part wood filler like Bondo or Aqua Coat grain filler. Scuff-sand every surface with 180–220 grit. Vacuum, then wipe with a tack cloth. Do not use a damp rag alone — trapped moisture wrecks adhesion.
Step 4 — Bonding Primer (Non-Negotiable)
Spray or brush one full coat of a bonding, stain-blocking primer. We use Zinsser BIN (shellac) for oak and tannin-heavy woods, and INSL-X STIX for laminate or thermofoil doors. This is the layer that makes paint stick to 30-year-old factory finish. Sand lightly with 320 grit after it dries.
Step 5 — Spray Two Coats of Cabinet-Grade Enamel
Skip wall paint. Cabinets need a cabinet-grade enamel that levels smooth and cures hard. Our go-to products in St. Louis:
- Sherwin-Williams Emerald Urethane Trim Enamel — best overall durability, self-levels beautifully.
- Benjamin Moore Advance — waterborne alkyd, hardens like oil, easy to work with.
- Cabinet Coat by INSL-X — solid DIY-friendly option with a factory look.
Spray with an HVLP or airless with a fine-finish tip. Two thin coats beat one thick coat every time. Sand between coats with 400 grit.
Step 6 — Cure Time (This Is Where DIY Jobs Fail)
Waterborne enamels are dry to touch in a few hours but do not reach full hardness for 21–30 days. Doors need at least 72 hours flat before rehanging, and you should treat cabinets gently for the first month — no slamming, no wet dishes leaned against a door, no cleaning with anything harsher than a damp microfiber.
Step 7 — Rehang and Add Bumpers
Reinstall in the reverse order you took them down. Add clear silicone bumpers to every door and drawer face — they prevent paint-on-paint contact that causes sticking.
DIY vs. Professional Cabinet Painting Cost in St. Louis
For an average St. Louis kitchen with roughly 25–30 cabinet doors and 5–8 drawer fronts, here's what you can expect to spend:
| Approach | Cost | Time |
|---|---|---|
| DIY (brush & roller) | $300–$500 materials | 5–8 weekends |
| DIY (sprayer rental) | $500–$800 materials + rental | 3–5 weekends |
| Professional (Color Of Life) | $2,400–$4,200 | 5–7 days, kitchen usable most of that time |
| New cabinets | $12,000–$30,000+ | 6–10 weeks |
Professional refinishing typically pays for itself in resale — a painted kitchen commonly adds $5,000–$15,000 to the listing price on St. Louis homes in the $200K–$450K range, based on what our clients report from their agents.
When DIY Makes Sense — and When It Doesn't
DIY is a fair choice if you already own a sprayer, have a garage or basement you can dedicate for two weeks, and have painted trim before. It is not a fair choice if your cabinets are oak (grain fill is brutal), thermofoil (needs specific primers), or if you cook every night and can't lose your kitchen for a month of weekends.
The most common call we get is from homeowners three weekends into a DIY job who realize the doors don't fit back on evenly, the paint is tacky, and the family is eating takeout again. There's no shame in it — cabinet spraying is a legit trade skill.
Most Popular Cabinet Colors in St. Louis Right Now
- Alabaster (SW 7008) — warm creamy white, our #1 request.
- Accessible Beige (SW 7036) — for two-tone kitchens with white uppers.
- Naval (SW 6244) — deep navy island, showstopper.
- Iron Ore (SW 7069) — soft near-black, modern farmhouse look.
- Evergreen Fog (SW 9130) — muted sage, huge in Kirkwood right now.
Get a Free Cabinet Refinishing Estimate in St. Louis
Color Of Life is a St. Louis non-profit painting company. Every cabinet job funds paid work for neighbors rebuilding their lives — and every quote is written, fixed, and pressure-free. If you're weighing DIY vs. pro, we're happy to walk your kitchen, show you a sample door, and give you an honest number.